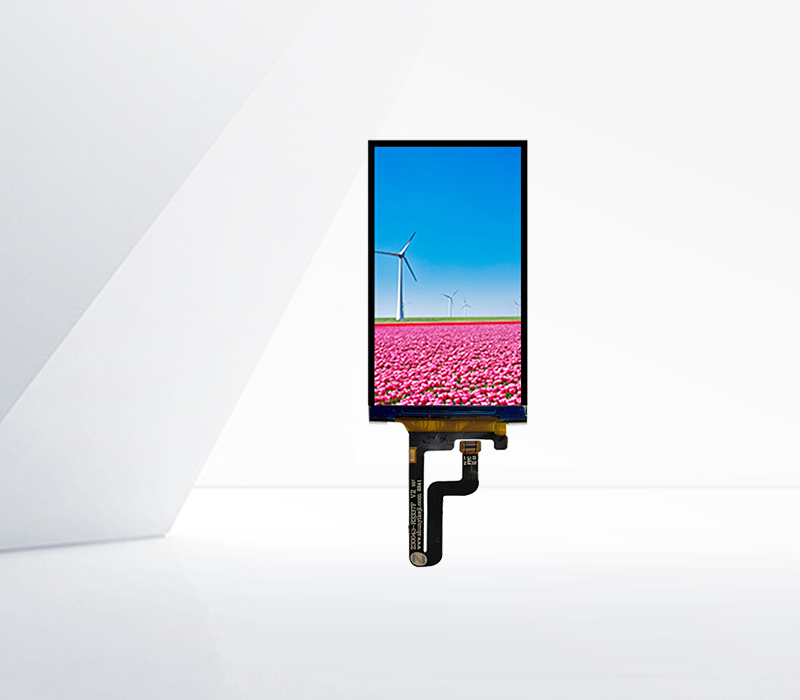


Installing an LCD display requires careful attention to detail to ensure proper functioning and a seamless integration. Here are the step-by-step instructions for installing an LCD:
1. Prepare the workspace: Clear a clean and stable work area with enough space to handle the LCD and its components. Gather all the necessary tools such as screwdrivers, cables, and mounting brackets.
2. Inspect the LCD: Before installation, carefully inspect the LCD for any signs of damage or defects. Check the screen for cracks, scratches, or dead pixels. Ensure that all the ports and connectors are intact.
3. Determine the installation location: Decide where you want to install the LCD. Consider factors such as visibility, accessibility, and stability. If mounting on a wall or stand, make sure the surface is strong enough to support the weight of the LCD.
4. Gather the necessary cables: Identify the cables required for connecting the LCD to your device. This may include power cables, video cables (such as HDMI, VGA, or DVI), and audio cables if applicable.
5. Mount the LCD: Depending on your chosen installation method, follow the instructions provided with the mounting brackets or stand. Secure the LCD firmly in place, ensuring that it is level and stable.
6. Connect the cables: Plug in the power cable and connect the video and audio cables to the appropriate ports on your device and the LCD. Make sure all connections are secure and properly seated.
7. Power on the LCD: Once all the cables are connected, turn on the power to the LCD. Follow the on-screen instructions to set up the display settings such as resolution, brightness, and contrast.
8. Test the LCD: Check if the LCD is working properly by playing a video or displaying an image. Ensure that there are no artifacts, color distortions, or other issues. Adjust the settings if necessary to achieve the best picture quality.
9. Finalize the installation: Once you are satisfied with the installation and the LCD is functioning properly, tidy up the cables and secure them if possible. Make sure the installation is stable and safe.
By following these installation instructions carefully, you can ensure a successful installation of your LCD display and enjoy a high-quality viewing experience.
